Oh, I just remembered, I can banish all thoughts of my ineptitude at woodwork by telling you all about the Man’s waistcoat which I finally finished!

Finally managed a daylight photo shoot and it got photobombed! He was trying to look like a Victorian Head of the Household apparently (so I was instructed to take a sepia shot, but as it’s his camera I didn’t know how, so I used black and white).
I nearly finished it before Christmas. The welt pockets didn’t go too badly in the end, although they don’t look as good as my practice one. I had cut the pocket linings from the pattern, but then decided the decidedly simpler looking welt pocket tutorial on the Oliver and S blog was the way to go. Plus it doesn’t have a triangular flap of fabric that you have to fold under and handstitch into place (spot the potential shabby finish, handsewing is not my forte). However, they use a rectangle of lining fabric and I didn’t have much left. So I sort of bodged the two methods together, sewing the welt the Oliver and S way and then attaching the lining pieces to them and then sewing them up. It worked ok. The top of the pocket on the inside is wool and then lower down it’s green lining.

The slit is cut, the welt piece (currently looking rectangular) is on the inside and I’m figuring how and where to attach the lining pieces to it (hence chalk marks) before I can press and stitch the relevant folds that make it a welt into place and sew up my pocket bags.
But after I attached the lining the collar was sitting wierdly, it had wibbles in it (can’t think of a better way to describe it). I’m fairly sure the lapels are attached to the back collar piece back to front, but I was loathe to unpick the collar from the lining and main waistcoat, and then unpick the collar from itself and restitch them. So I sulked. Then I tacked it into place and steamed it lots, left it a few days, steamed it lots, hubby wore it around the house, left it a few days, and repeat. Eventually I took the stitches out and it was better. Not right, but hubby was happy with it and I wasn’t confident it would look better after being attacked with a seam ripper.

In the colour shot you can see how well it matches the shirt my mum bought him for Christmas as well as playing spot the still wibbly bits on the collar.
Next stop, to get some buttons. There was one with the waistcoat which I think hubby chose as a possible at the time (either that or I’ve lost the rest) but it was a bit small. They didn’t have any the same in the shop but I found something close that he approved of.

2 of the actual buttons with the original choice above
And then I didn’t get around to making the buttonholes. In my defenes we had 2 lots of family staying back to back and I was really ill with flu and there were Anna dresses to sew etc. In the mean time, he wore it out to his Christmas night out, with no buttons.

The Man decided to do Humourous Poses. (He was about to go on his Works Night Out and was in a good mood – so all these photo’s are before the waistcoat was actually finished). I think this is him doing up his top shirt button.
After that it was Christmas and we were busy and he kept wearing it! It goes really nicely with the shirt my mum gave him for Christmas. Eventually I added buttonholes, but the bottom one messed up badly so I didn’t cut it and he had 4 for a while. Again, I never got chance to sew it as it was being worn!
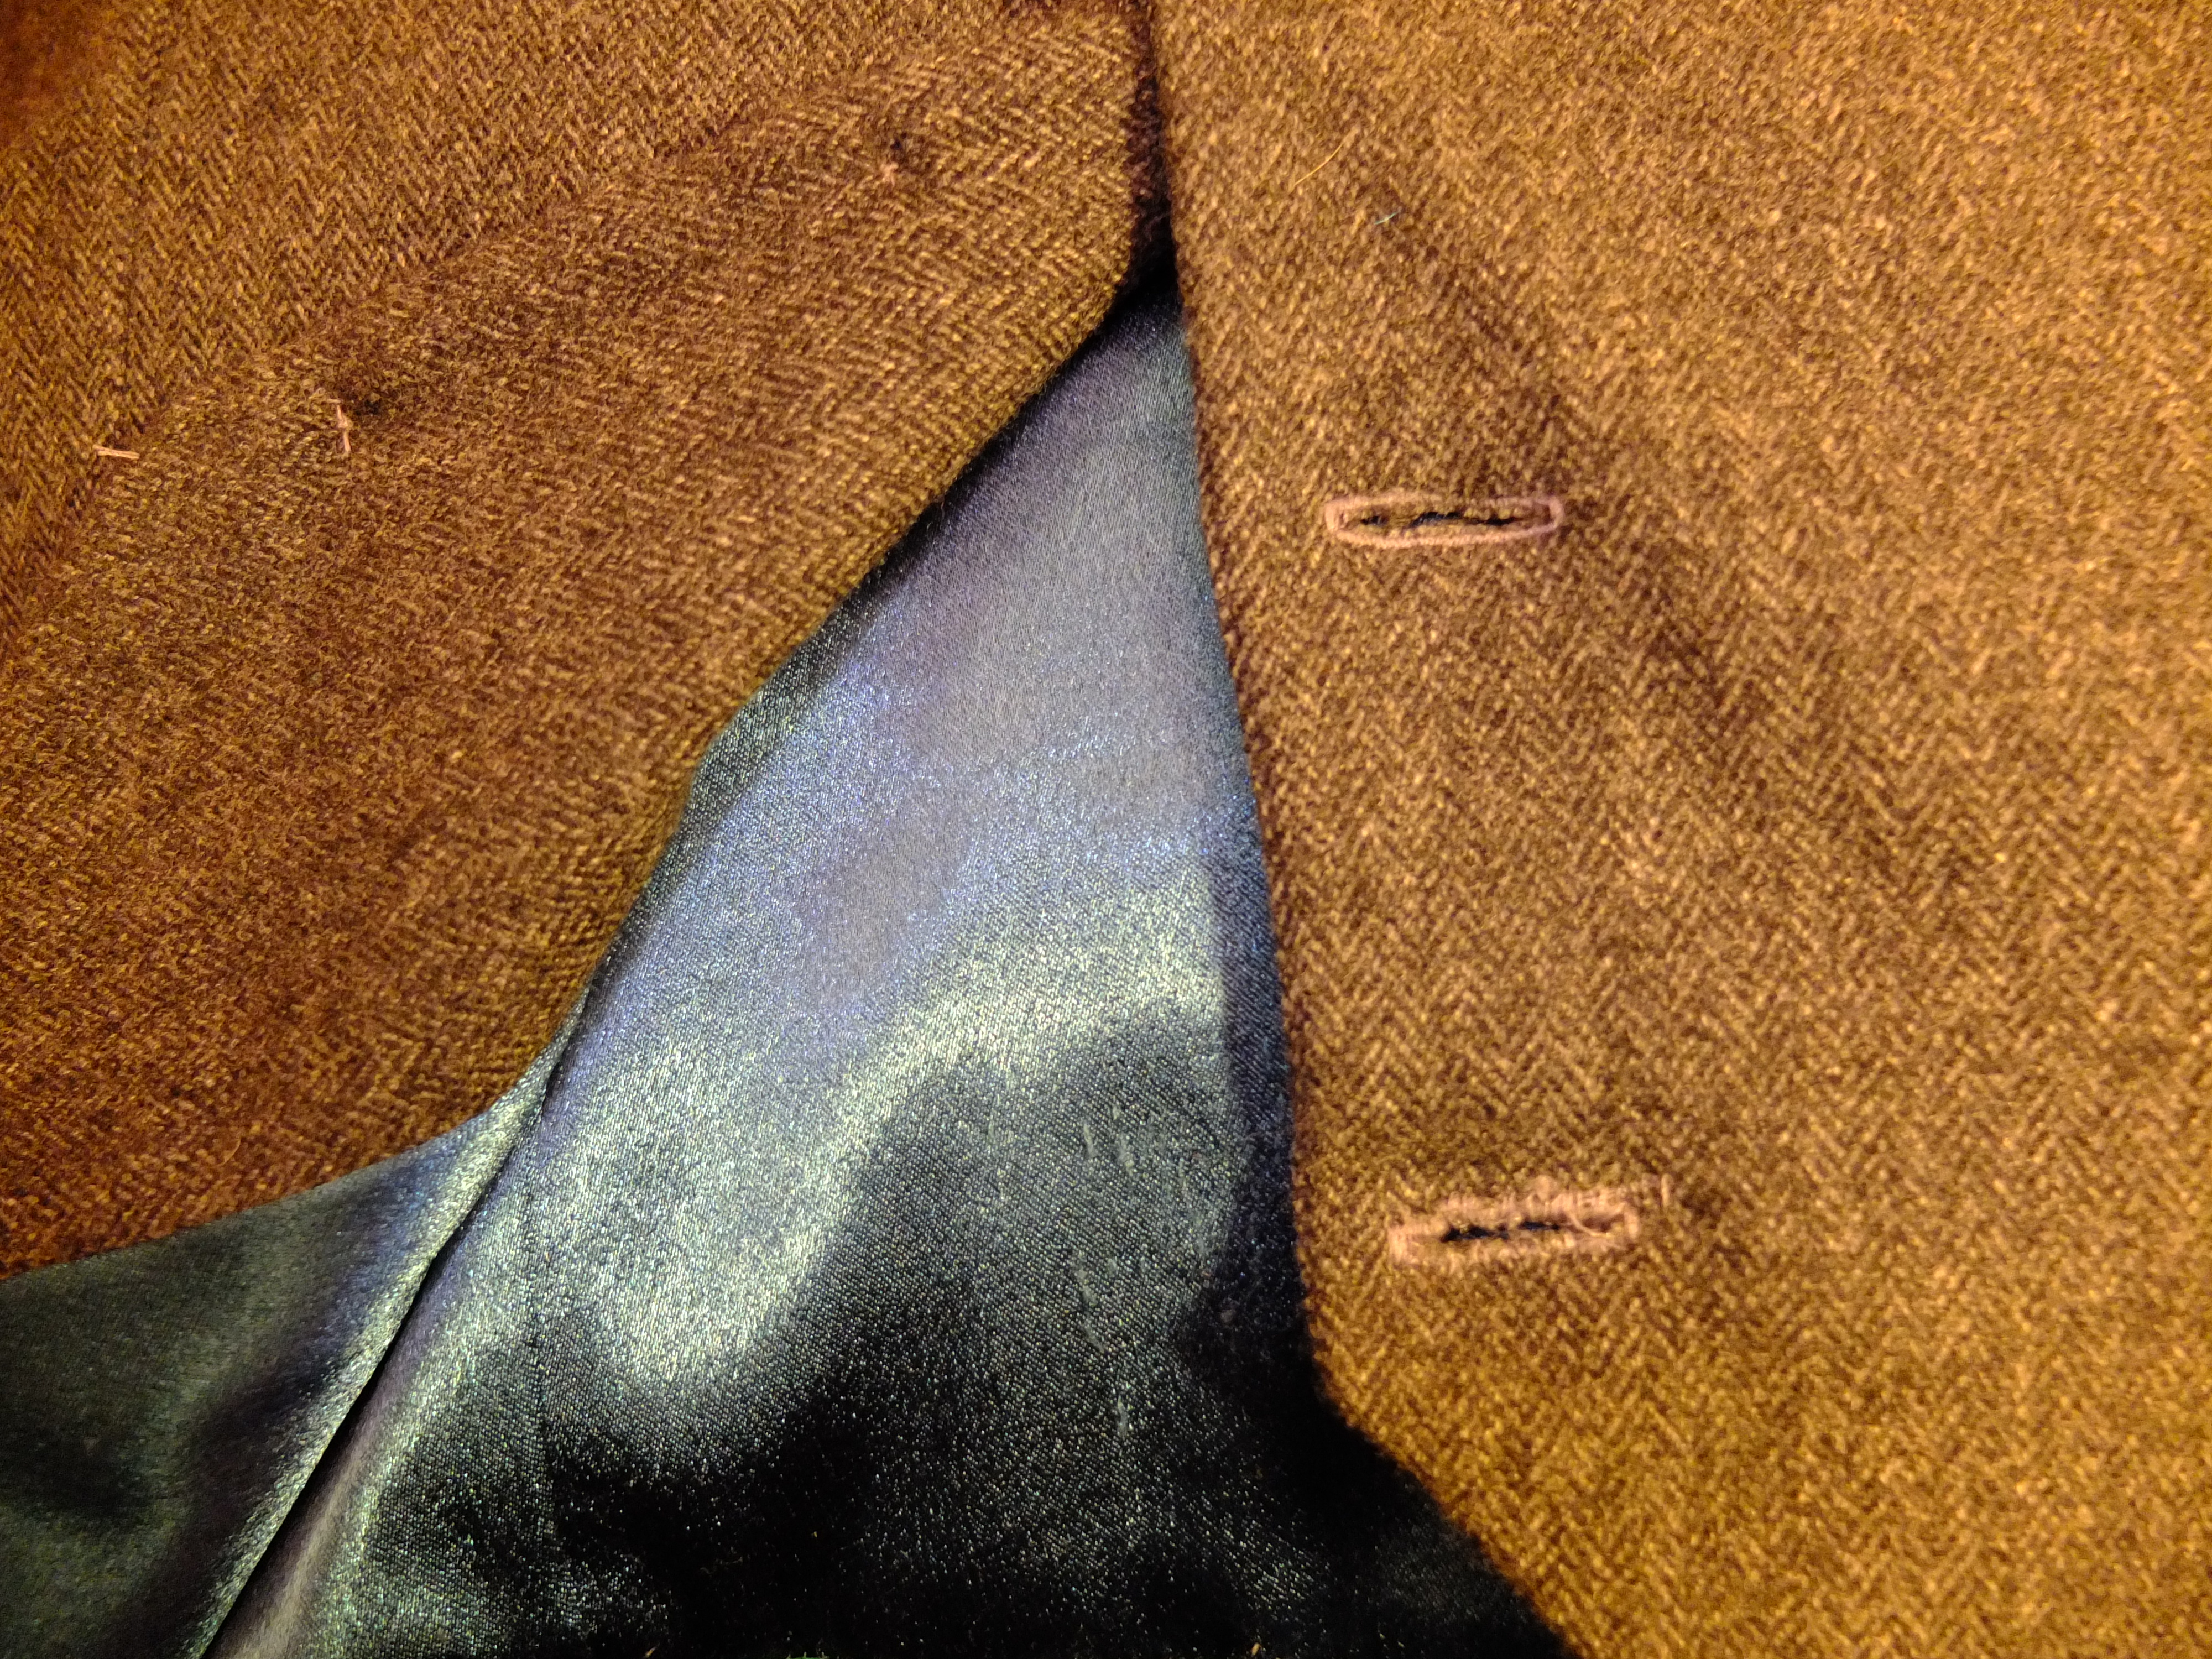
The bottom two buttonholes, that last one is a bit scruffy. Plus on the left you can see the lining attached to the self drafted facing.
Finally, I unpicked the dodgy button hole and re did it. Badly. In the process I found a better colour grey thread I should have used for the others and then a third shade that I thought was the same as the others but is slightly different – I never knew I had so much grey thread! Also, for some unknown reason, I didn’t set the stitch length right, but didn’t work this out until after I’d cut the buttonhole. It was clearly going to unravel if I left it like that, so I hand stitched over my efforts with blanket stitch. It won’t win any prizes but it will hold. I think. Then I just needed to stitch up the lining seam where it was turned (more hand stitching, I must love him), sew the last button on and Finally it was done! Hoorah.

Closing the curtains back view pose
It really obviously looks hand made to me. The collar is the worse bit, but the button holes aren’t great on close inspection and the lining at the back appears to be shorter than the main fabric so it bags out a bit. But I don’t think a non sewer would spot these things and he wears it all the time.
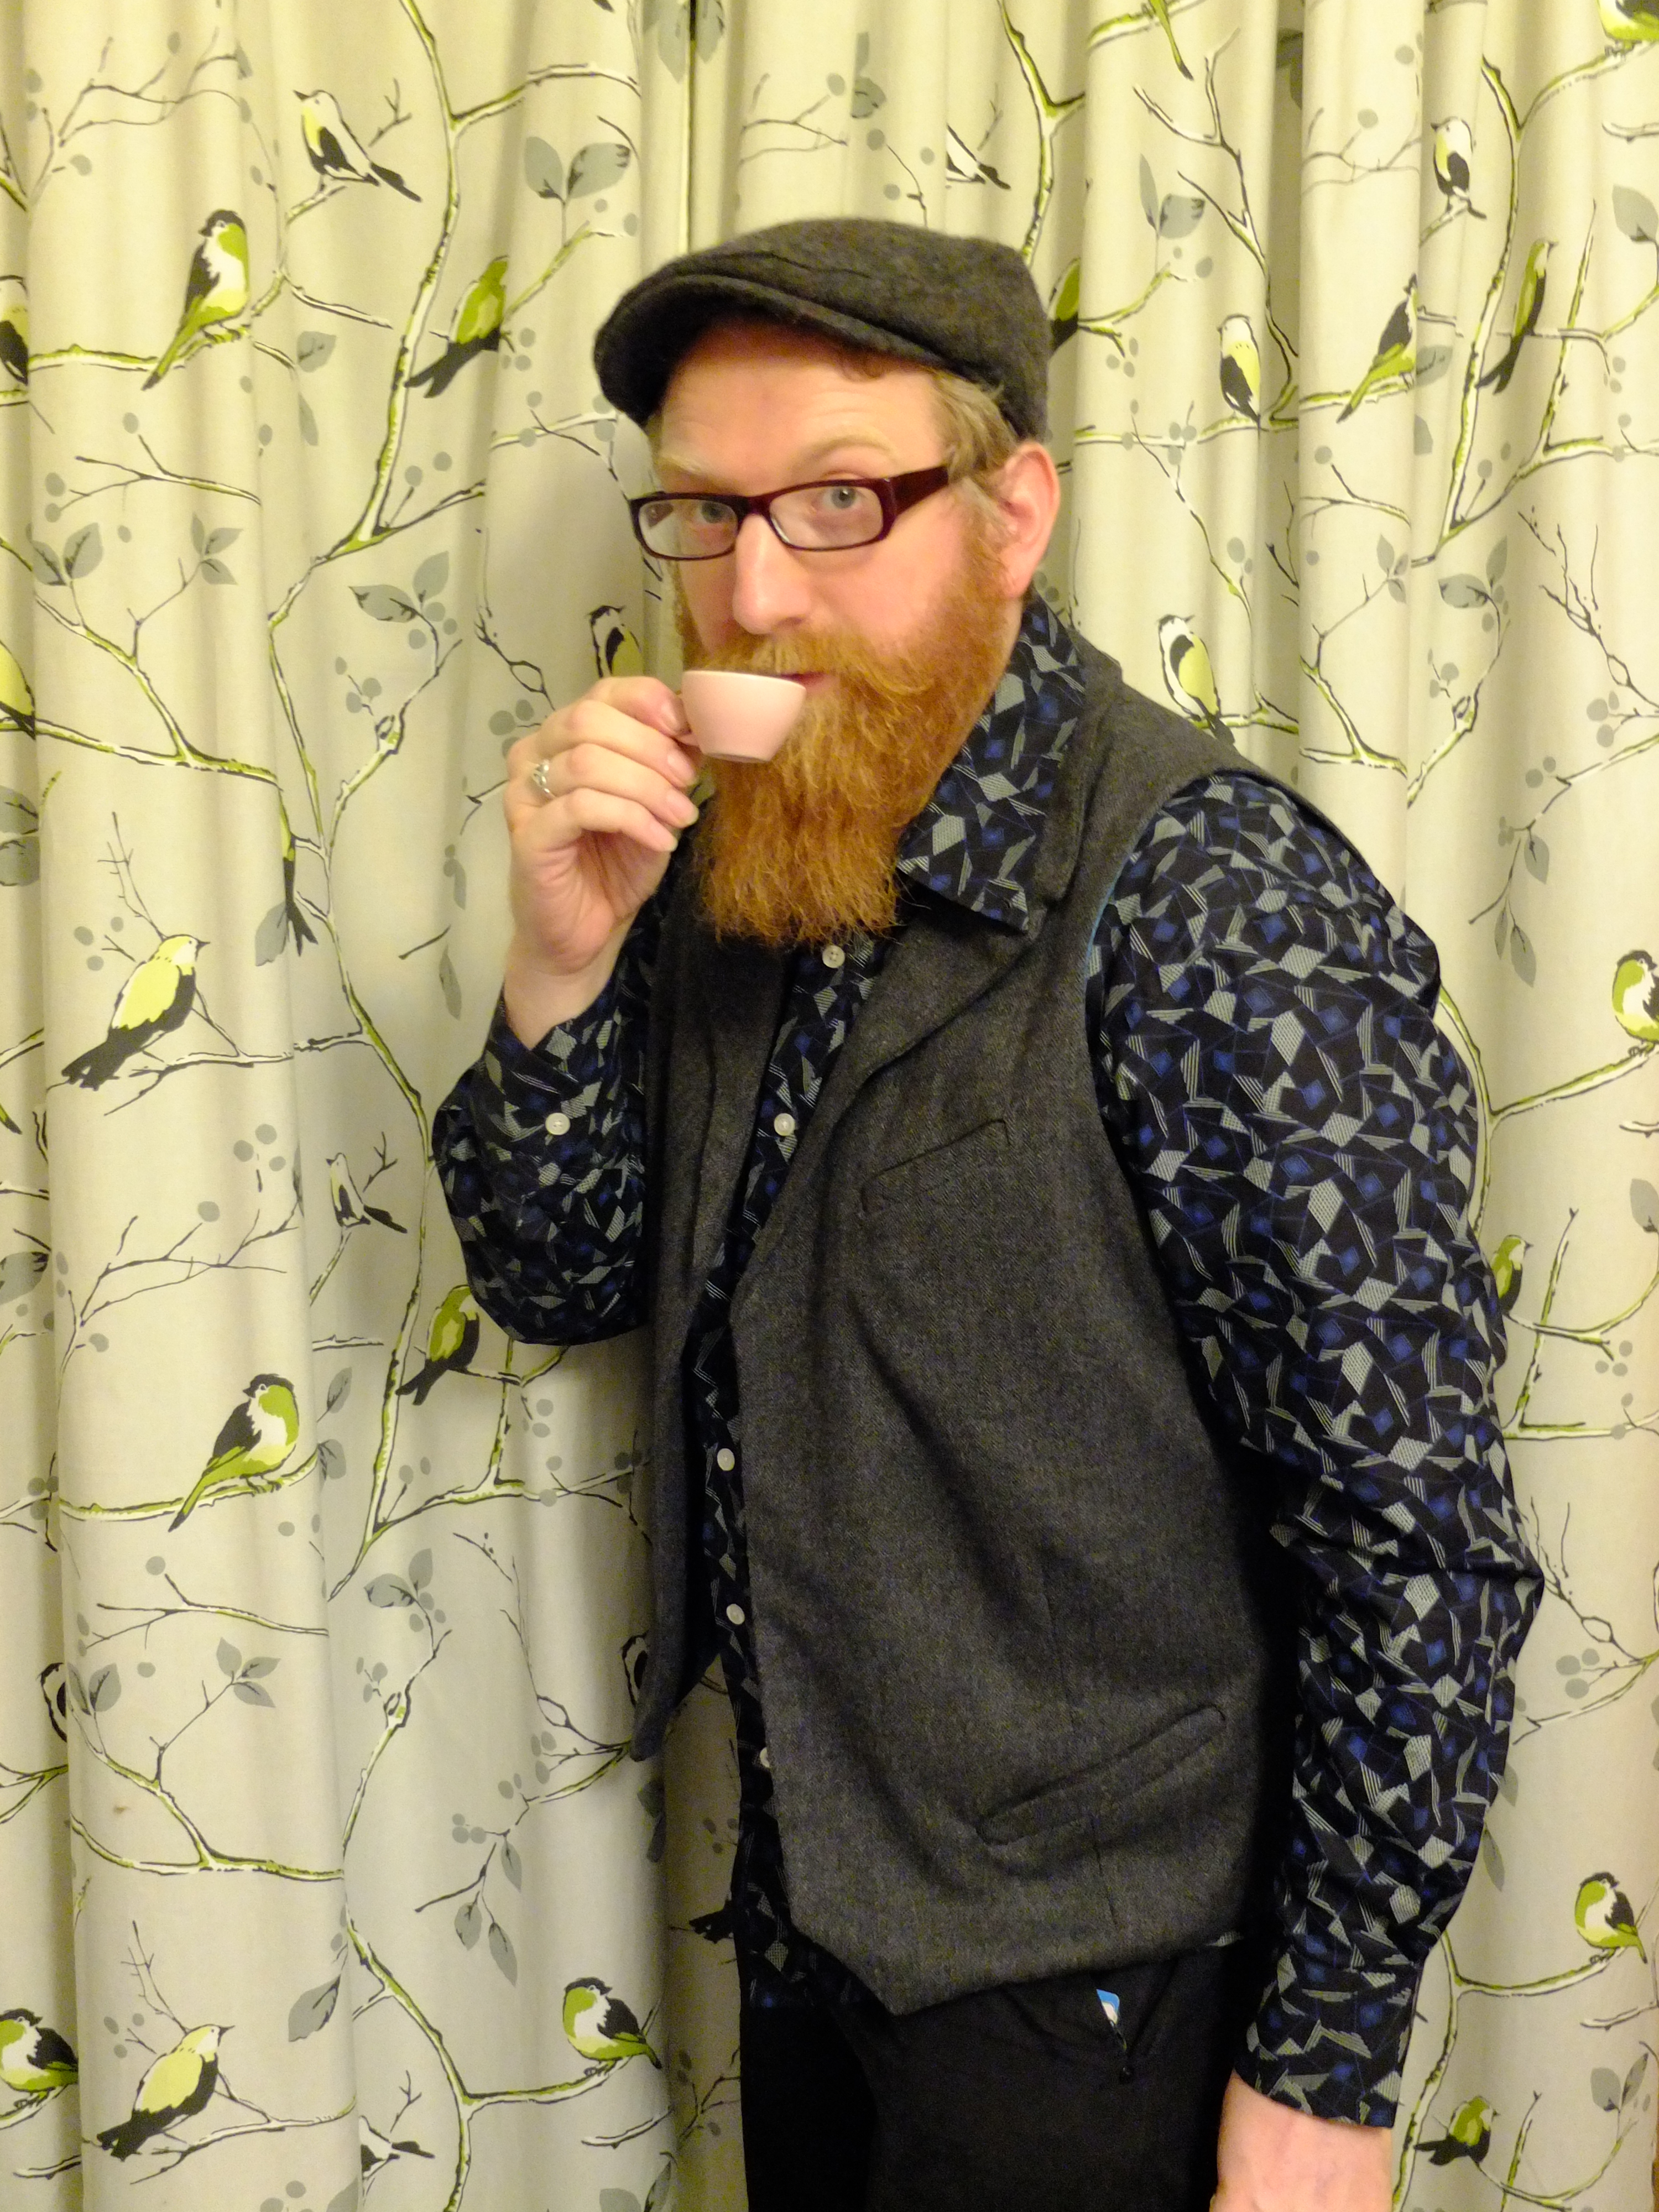
Drinking a dolls cup of tea (note waistcoat matches his shop bought hat).
I’ve also bought fabric to make a second one as I figured after all that messing around with the pattern it would help me recoup my time outlay. He chose green boiled wool, lining as yet undecided. I’ll see if I can get the collar better next time. Lets hope this one doesn’t take to long as he’s mentioned a black one too!

Lining Joy. It’s actually a really bright green, not blue at all, honest.

How satisfying that your husband loves his waistcoat. I think you may be right about the collar issues so they should be easily solved next time. I adore the photo of your husband being statesmanlike while the children appear to climb all over him! Definitely one for the family album x
It is very satisfying, thanks, if a little annoying that I have to look at my mistakes so often!
Pingback: Prolific Project Starter | Cuteness overload
Pingback: What my man wants…. | Prolific Project Starter
Pingback: Bits and Bobs | Prolific Project Starter
Pingback: Wrapping Paper | Prolific Project Starter