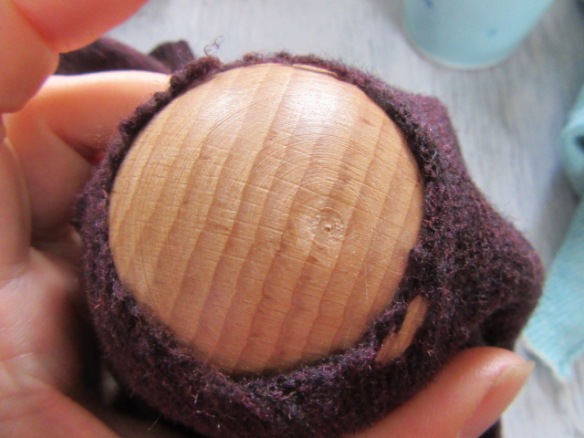
So, after I’d practiced my invisible stitches on a friendly piece of fairly large gauge, pale knitting at the Swiss Darning Workshop, I thought it was time to try some actual mending. Stephanie had already shown the person I was sat next to how to put in support stitches across the hole in the jumper she’d bought, so I got out the jumper I’d bought. The hole was about as big as the darning mushroom. Hmm. (As Stephanie only had 2 darning mushrooms she’d brought some table tennis balls to use as spares, what a great idea). I asked her advice on getting started and she suggested an alternative to straight swiss darning in cases where the hole is this big (presumably that would be relative to the stitch size, these stitches are pretty small (2mm across maybe) as this is a mass produced garment, I think if it was hand knit in a chunkier yarn this size hole would be fine).

First up a row of swiss darning underneath the gap a smidge wider than the hole at it’s widest point. Gosh, the change from a friendly gauge size piece of knitting in a pale colour, to a really fine knit in a dark colour was a shock to the system. Luckily my (black) stitches don’t show up too well in the photo (on the right as the knitting is on it’s side here) as I was pretty much working blind it was so hard to see what I was doing.
Next up, pick up the stitches onto a knitting needle. I didn’t have access to any knitting needles there, so from this point onwards the mend was done after I got home, i.e. without access to any help or supervision, so any mistakes/misinterpretations of the method as explained to me by Stephanie are my own. The easiest way I know to pick up stitches is to use a crochet hook, so here I am, slipping it under the stitch I was going to pick up (both the darn and the original stitch together, not because I thought this was right necessarily, just because this was the only way I could manage it), pulling some darning yarn through, then transferring the loop onto my needle (double pointed in my case though it wouldn’t have to be).
Next knit up until the patch is covered, but leave a thread at the end of each row. This was the quick bit. You can see that despite using my finest needles and darning wool the patch gauge is much bigger than that of the original garment. As I was using double pointed needles, I snipped the yarn leaving a tail at the end of each row, then started knitting again from the right hand side without turning the work around – just because that seemed easiest for me.
Next up, swiss darn the top of the patch to the garment. I was told it was easiest to do this whilst the stitches were still on the needles. So, I treated each stitch on the needle like the bottom of the point of a V in a Swiss Darn, bringing the darning needle up through the garment, then through the loop of the stitch on the needle, then up and backwards, into the garment and out (probably more than one stitch wide as my garment was a different gauge to my patch), back through the stitch on the needle, into the garment, and then out and through the next stitch to repeat the process again. When I ‘d finished I had the scary, remove knitting needle step, but nothing seemed to unravel, phew.
Then I decided to go back and forth a little with my yarn in continuing to swiss darn my yarn end in and help to secure my patch. I found a small bit above the patch where the garment was wearing thin (probably I should’ve made my patch a little wider), and swiss darned over that (again, not that neatly or consistently as the stitches are so tiny). That’s the pic on the left, the one on the right is a small hole I found elsewhere and swiss darned immediately before I have to do this for that! (A stitch in time saves 9 after all).

The final thing to do is to swiss darn all your ends (!) in to hold the patch in place. Here I am half way up one side. In fact, I have at this point only finished one side, but I wanted to share it with you. When I was at the stage shown in the photo LSH commented that I appeared to be attaching a mustache to the elbow of his jumper! Now I just have to finish the other side, oh and then look at the hole in the other elbow which is nearly as big. And look at the place where there are holes forming in the join on the shoulder seam.
The darn is not invisible, but it blends in pretty well and darning the row tails in have helped with that, I can see if you had a good colour match on the thread and could get the gauge closer to the original this could be pretty hard to spot.
And so, my Mend It May continues. Hopefully I shall master a piece of “proper” swiss darning, across a hole with scaffolding threads and be able to share that with you too before the end of the month.


